Sunday, January 1, 2017

STUDY OF A COMPOUND MICROSCOPE :- FOCUSING OF AN OBJECT and PRECAUTIONS

Microscope
FOCUSING OF AN OBJECT


A. Under Low Power :-

1.    Place the slide to be focused the stage and fit it into the mechanical stage. By means of the screw of the mechanical stage bring the object on the central aperture in the stage.
2.    Using the light source and by adjusting the 
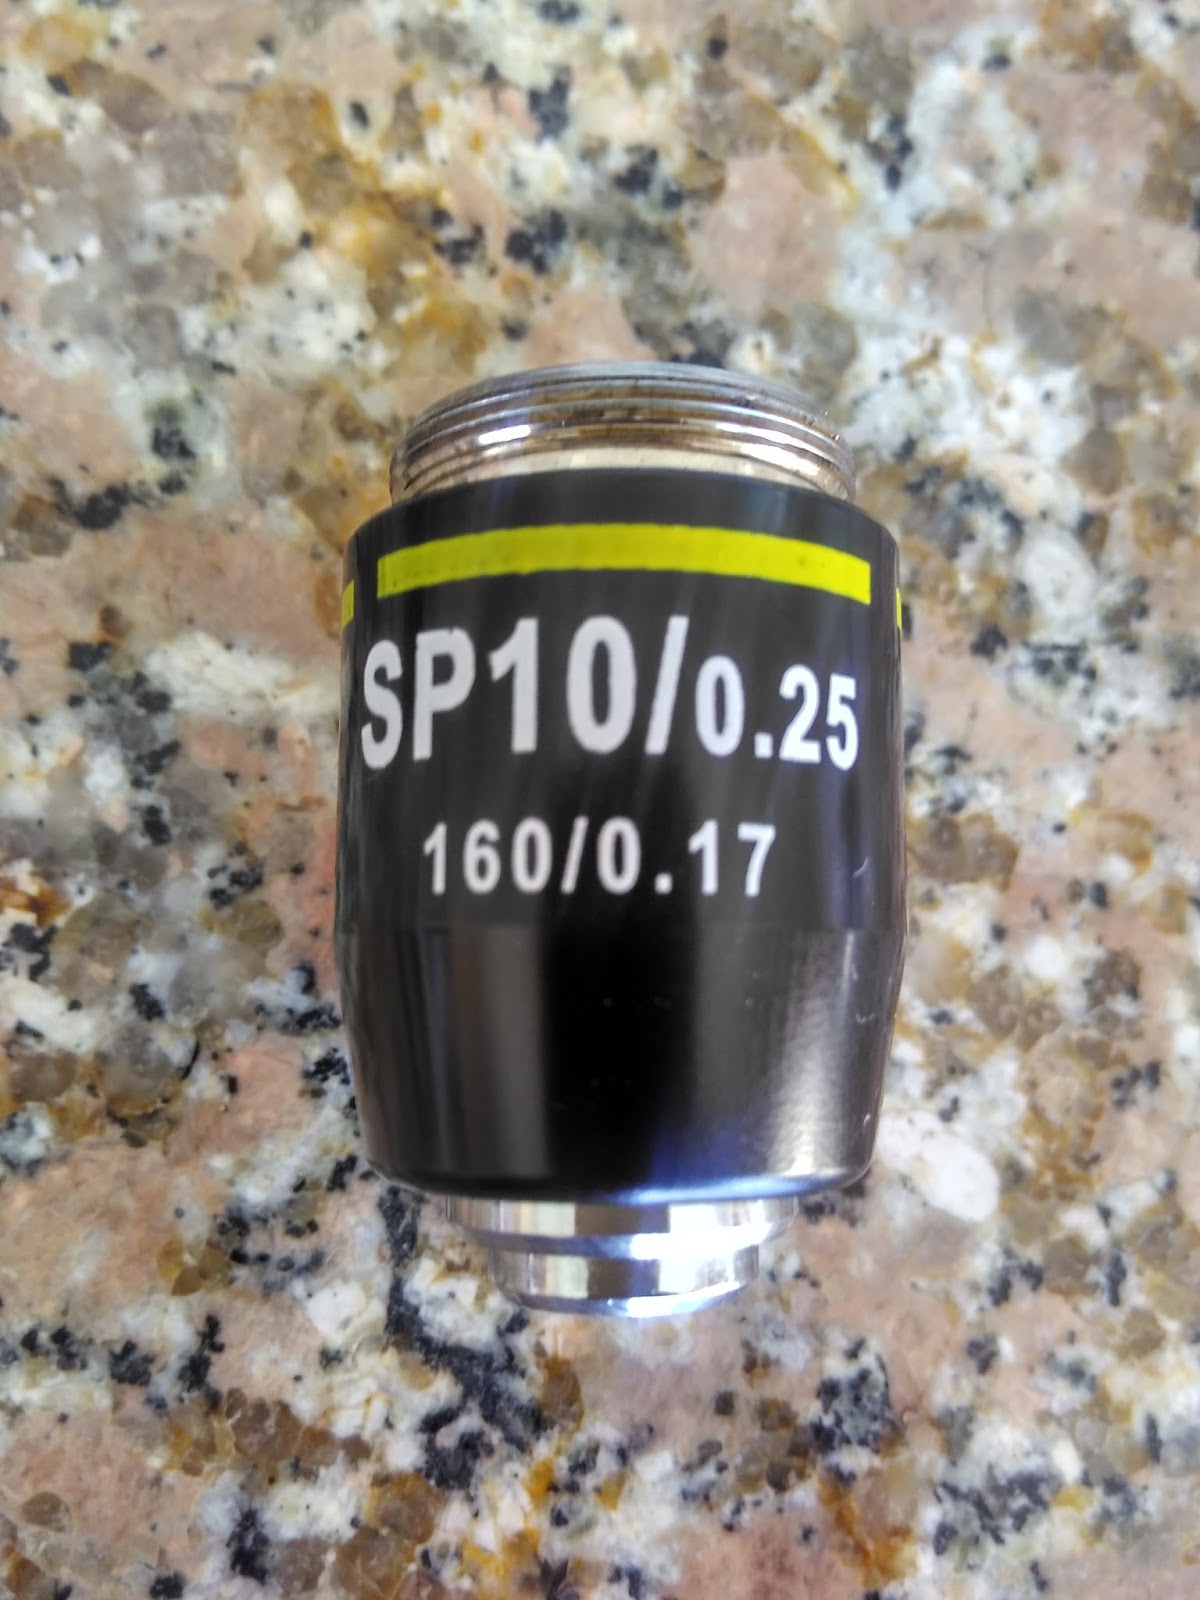
plane mirror, focus the light on the object. Partially close the iris diaphragm and lower the objective (10x) with coarse adjustment near the slide.
3.    The position of the slide is so adjusted that the aperture of the objective lens is just above the point to be focused on the slide.
4.    Now look into the eye – piece ; the optical tube is moved upwards (again using coarse adjustment ) slowly and confidently, till the object comes under view. Once this is achieved , the coarse adjustment should Not be used.
5.    Lower the condenser from the top position till the object is properly illuminated. The condenser usually occupies a low position.
6.    Next , using the fine adjustment only, the slide can be brought to a sharp focus.
         LOW POWER LENS

Important Note :- Always keep looking from the side of the microscope as you are lowering the optical tube, otherwise you are liable to damage the slide.
B.    Under High Power :-
1.    For focusing under high power (40x) , simply rotate the nose – piece so that the high    power objective lens may come to lie above the slide to a sharp focus.
2.    The iris diaphragm is fully opened and concave mirror is used to condense the light on the   object.
3.    The condenser is kept in the beginning at the top and is then gradually lowered till the    object is properly illuminated. The condenser usually occupies a higher position than    that for focusing under the low power.
4.    With the fine adjustment screw, attempt the final focusing.

    HIGH POWER LENS
      C.   Under Oil Immersion Lens :-
1.    For focusing under oil immersion lens (100x), a drop of cedar – wood oil is placed on the slide. Then turn the nose piece further so that the oil immersion lens may be in use. It will automatically dip into the drop of oil.
2.    As the slide is moved, the drop of oil will also get moved on its own. Thus any part of the slide can be observed.
3.    The iris diaphragm is kept fully opened and the condenser is kept in the top position. Use only the fine adjustment to focus the necessary area.
         
100X LENS   AND  CEDAR WOODEN OIL

Important Note:- While putting the stained slide, care should be taken so that the stained smear may be facing the objective.                                  

Important Points to Remember
1.          Position of Condenser :- The Desired position of the condenser is as follows :-

Objective Lens Power
Condenser Position
(i)  Low Power (10x)
(i) Lowest
(ii) High Power (40x)
(i) Higher (in between i and iii)
(i) Oil Immersion (100x)
(i) Highest
1.          Type of Mirror to be used

(i)  The Plane side of the Mirror is used when:-
      (a) A condenser is used ;
      (b) The source of light is diffuse such a daylight.

(ii)  Concave mirror is used when source of light is from a point source such as bulb, as   used in labs.

2.          The Higher the Magnification, the smaller the area that can be examined at a time. Therefore, to start with, irrespective of what is being examined, it is always advisable to focus a slide under low power (10x) first. Obtain a general view of the object and choose the field you would like to examine in detail. Bring this field in the central position. Then switch over to the next high power. Now use only the fine adjustment for focusing. If necessary, select the field further and bring it in the centre again.

Most Important Part of Microscopy

PRECAUTIONS

1.       A clear image can never be seen through dirty lenses. Make sure that the eye piece as well as all the objectives is clean.
While cleaning microscope lenses, do not rub them with dry cotton or rough cloth which might leave permanent scratch marks on the lenses. Apply xylene  to the lenses (to dissolve the grease) and then wipe dry gently with a piece of silk cloth or softest material available.

Most Important
NOTE :- Always clean the Microscope lenses BEFORE and AFTER the use.

2.       Do not clean the objective with alcohol, as it may dissolve the cement which unites the component lenses.
3.       Never lower the optical tube while you are looking through the eye piece.
4.       Make minimal and careful use of ONLY the fine adjustment while using the high power and oil immersion.
5.       If the microscope has to be moved, it should be held upright by the limb keeping a hand below its foot. 

Thursday, December 22, 2016

STUDY OF A COMPOUND MICROSCOPE :- FORMATION OF THE IMAGE

MICORSCOOPE
Continue page-1

FORMATION OF THE IMAGE

It is the lenses composing the objective which initiate the magnifying process. An objective operates at a distance  from the object that is roughly equal to its focal length, and admits rays that are to form a real, an inverted, enlarge image in the upper part of the tube. At this point, there is interposed another lens, the field lens whose function is to collect the diverging rays of the primary image so that they may pass through the eye lens of the piece which magnifies the image still further. The field lens is accommodated in the lower plane of the eye piece. Rays, as they leave the eyes piece to reach the observer’s eye, are once more divergent and thus the image seen by the retina is virtual, appearing to be about 25 cm (10 inches) in front of the eyes.

Formation of The Image is three types :- 

A.  Magnification
B.  Resolution
C.  Oil Immersion Objective


A.   Magnification :- The  magnification  of the  object is  determined by multiplying the power of the Objective (X inscribed on the objective or eye piece denotes the Unit of the Magnification).For example, if the eye piece magnification is 10x and that of objective lens is 100x, then a given object gets magnified by 1,000 times.


 B. Resolution :- The  limit of  useful  magnification is  set by the  resolving  power  of the  lens i.e. its ability to reveal closely the adjacent structural details as separate and distinct. It is this  power which determines the amount of structural details that can be observed.


 C. Oil Immersion Objective:- Oil immersion objective is most frequently used in Haematology
                                                      because of its Greater Magnification and Resolution.
It has been seen that any factor which reduces the amount of rays falling on the objective, impairs the quality of the image. In case of oil immersion objective, the space between the object and the objective lens is filled with some transparent  fluid (such as liquid paraffin, glycerin or transparent oil) with the same refractive index as glass (=1.515) then the rays of light do not undergo refraction and pass directly into the objective. The most commonly used fluid is the cedar wood oil


Thanking you

Continue page……..2

Wednesday, December 21, 2016

STUDY OF A COMPOUND MICROSCOPE

STUDY OF A COMPOUND MICROSCOPE
Microscope Picture

Microscope: - The microscope was invented by Antony van Leeuwen-Hoeck. It is an instrument                  by which very small things can be seen which are not seen by the Naked Eye.
                         A compound microscope essentially consists of the following Parts.

Microscope With Parts Name

Parts of Compound Microscope
1.       The Stand :- It comprises a “Heavy Foot”, often shapes like a “Horse Shoe”,   to provide stability;
And the Limb which bears the optical System. The limb is attached to the foot by a Hinged Joint so that the Microscope may be set at a Comfortable Angle for the observer.  


2.       The Optical System :- It is mounted on the tube which is usually in Two Parts.
                                                                     i.            An External Tube which bears at its lower end a revolving Nose Piece in which inter-changeable three objective lenses of various magnifications are fitted:
a.)    Low Power:- 10x
a.)    High Power:- 40x
b.)    Oil immersion:- 100x

Microscope Lenses 10x , 40x , and 100x oil immersion

                                                                   ii.            An Inner Draw Tube that carries the eye piece (Magnification 10x) at its  upper end

10x Wide Field Eye Piece (Magnification 10x)


NOTE:- The objective lenses can be identified by magnification imprinted on them. In addition , oil – immersion lens has a black rim around its lower end. It has been become customary for the objective lenses to be marked with their magnifying power rather than their focal length. The approximate equivalents are as follows:

Focal length (mm)                                                          Magnification
            2                                                                                    100x
            4                                                                                     40x
            16                                                                                   10x
            40                                                                                    4x

Objective lenses – low, high and oil – immersion lens

3.       The Body: - The   whole  assembly   is  held  in  position   by  the   body   which   consists  of   Two                       Mechanisms:- The Coarse and Fine Adjustments. With the help of these adjustments   the height of the tube can be adjusted in such a way so that the objective lens can be positioned at its optimal working distance (i.e. its focal length) from the object to be examined. The fine adjustment is usually graduated in 1/50ths and each division corresponds to a movement of 0.002 mm of the tube. It is used for accurate focusing.
Coarse and Fine Adjustment of Microscope            

4.       The Stage: - It is a platform that accommodates a glass slide on which the object to be examined
        is mounted. It is attached to the limb immediately below the level of the objective lens and has an aperture in the centre to permit light to reach the object.                   A Mechanical Stage is fitted to the fixed stage so that the object may be moved from side to side and before backwards.

 Mechanical Stage of Microscope                          

5.       The Sub-Stage: - It lies  beneath  the  stage  which can be lowered or raised by means of a screw.
The Stage is fitted with a Condenser and Iris Diaphragm.
(i)      The Condenser consists of two lenses, it serves to condense the rays of light and to focus them on the object. The height of condenser and, therefore, the focus of light can be varied.
(ii)    Immediately below the condenser is the Iris Diaphragm that can control the amount of light reaching the object.

Sub - Stage (Condenser with Iris-Diaphragm)

6.       The Mirror: - Fitted to  the  tail  piece  below  the  condenser is a hinged double reflecting mirror
which is plane on one side and concave on the other. The plane side of the mirror is used when the condenser is used. The mirror can be tilted and rotated in all directions.
     Digital Mirror and Simple (Sunlight) Mirror


Thanking You
☺☺☺☺☺